Balance Component
What is the Balance component?
Overview
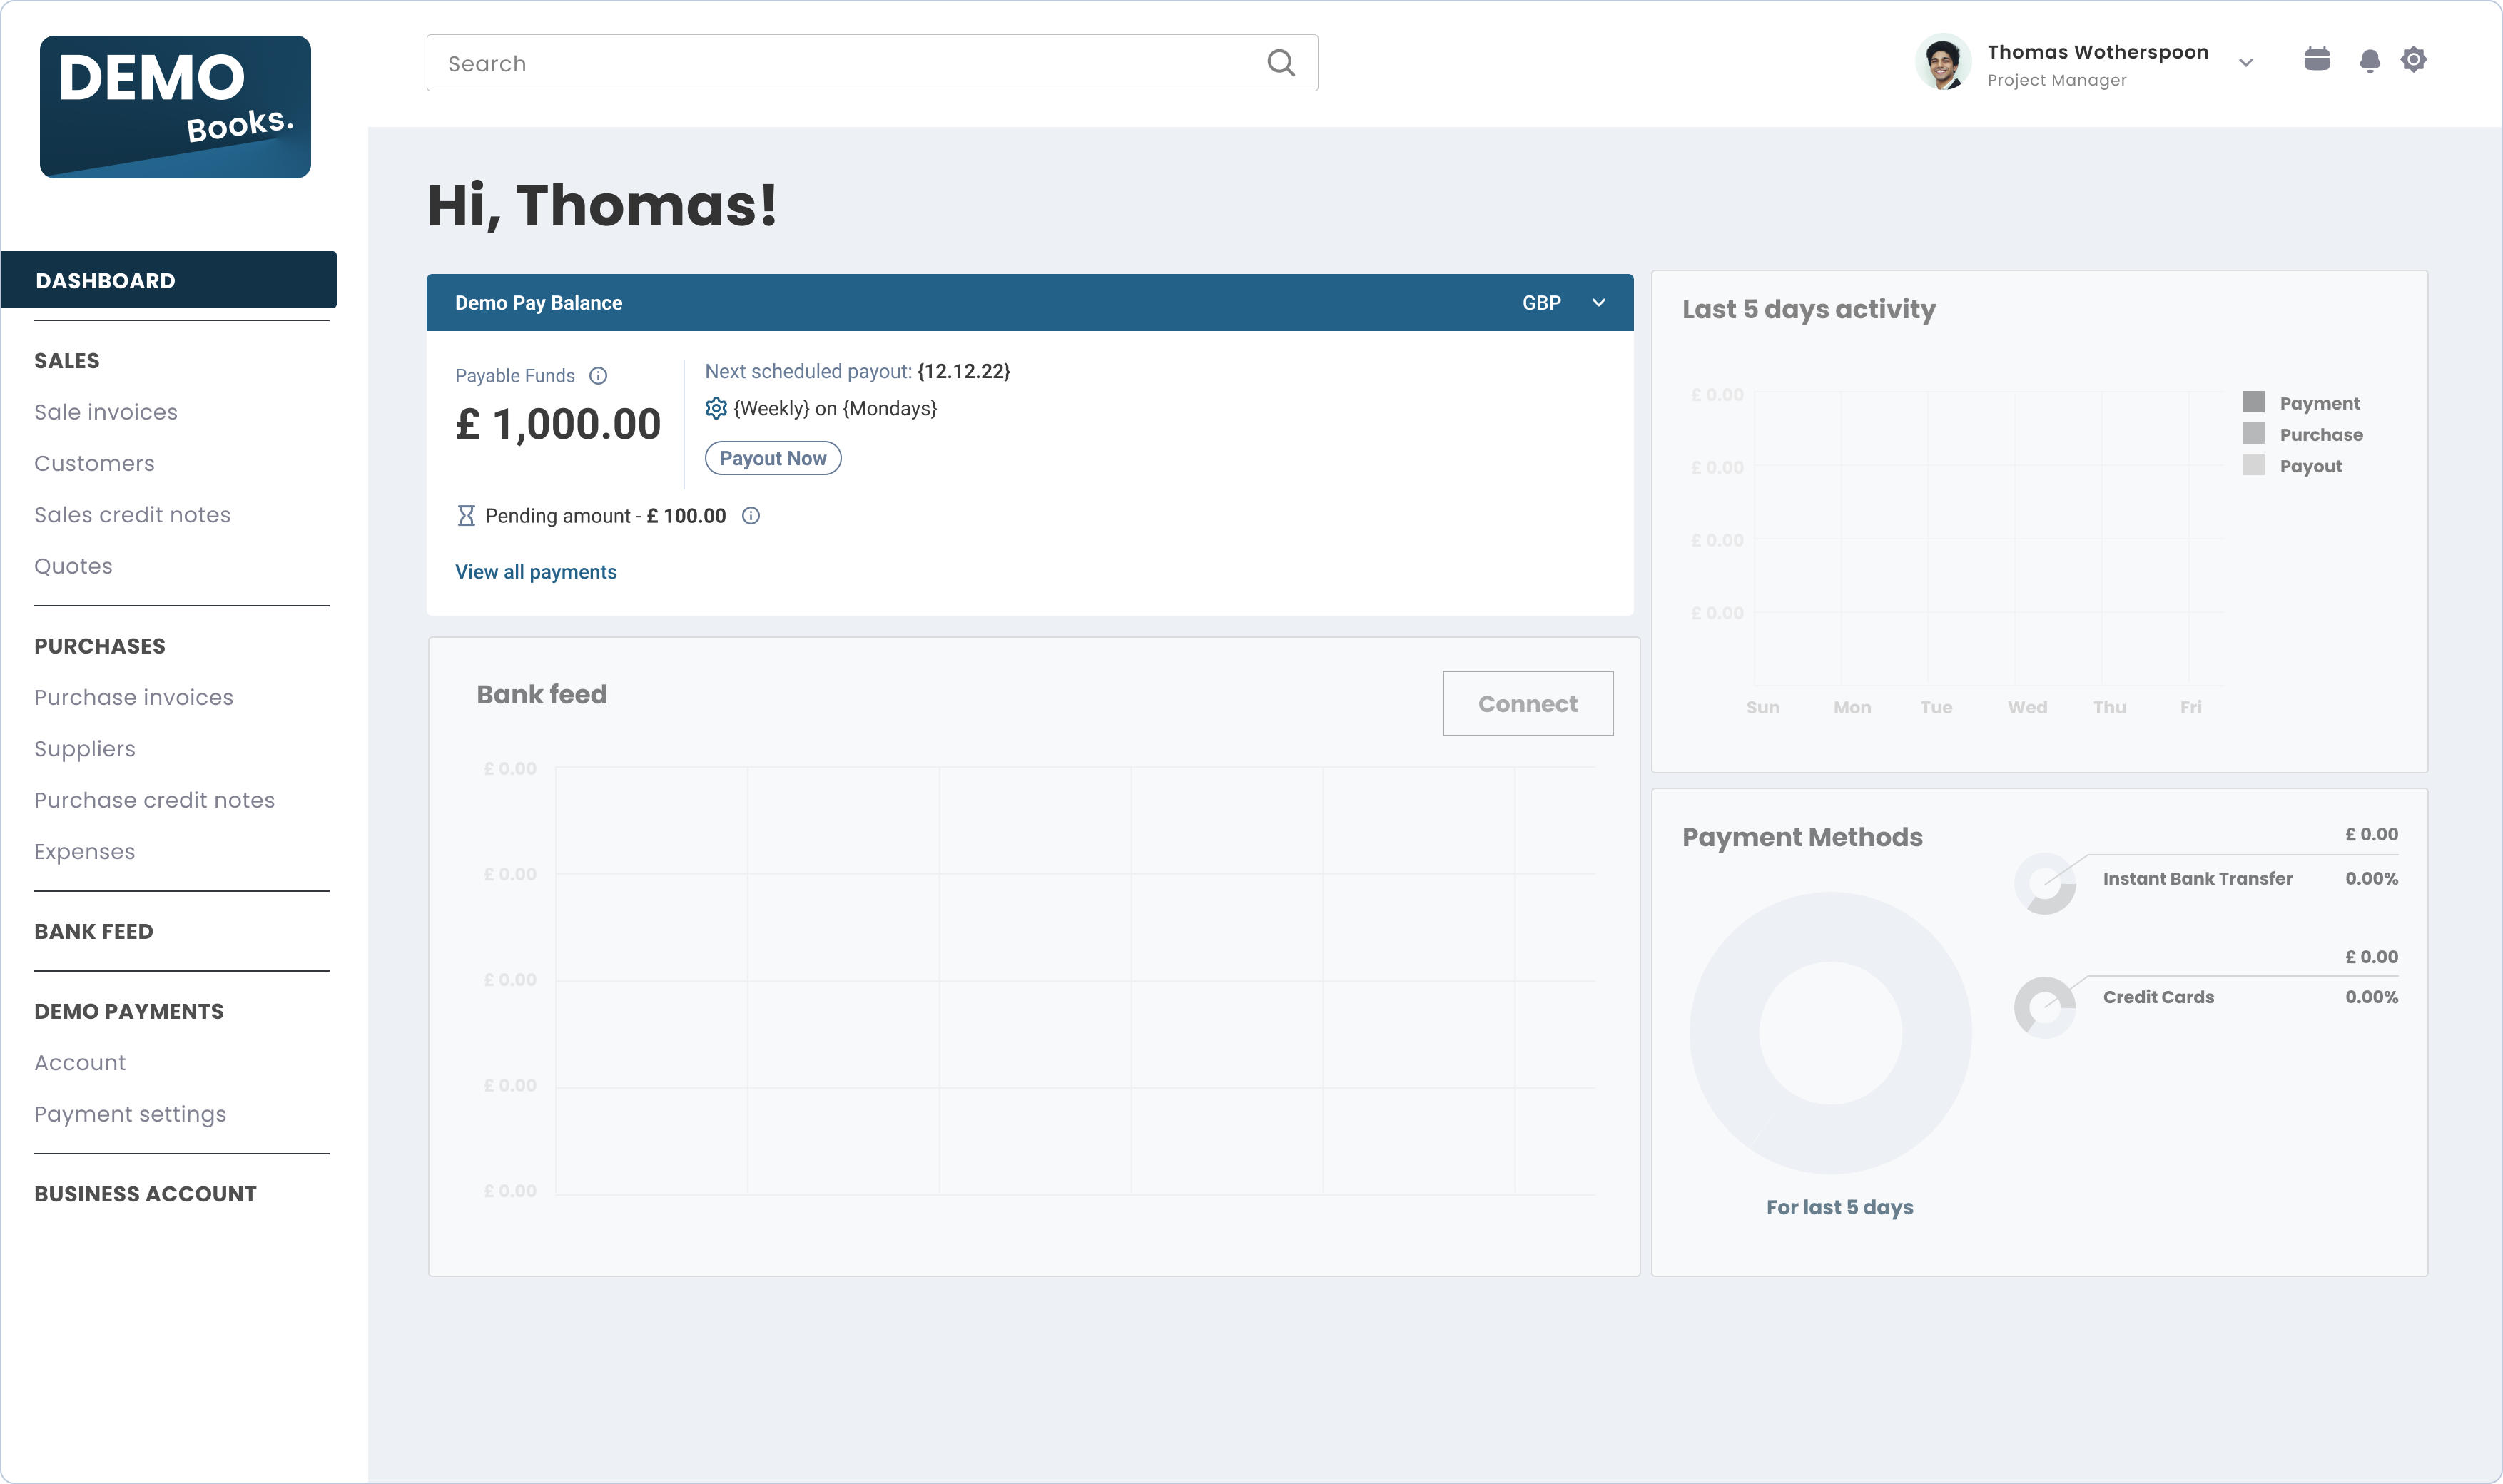
The Balance component offers users a clear and simple overview of their payment information within your platform. It is best placed in a prominent location such as the dashboard, where customers can get an overview into their payment-related status and adjust their payout settings.
The Balance component serves as a summary of the user's payment activity and offers a link to a more detailed view - Pay Portal Component.
Why you should implement this component
- The Balance component provides a considerable value to your customers with minimal implementation effort, as it gives them a comprehensive view of their financial status on your platform.
- Implementing the Balance component also saves your team a lot of integration effort, making it a valuable addition.


What does the Balance component include?
Balance
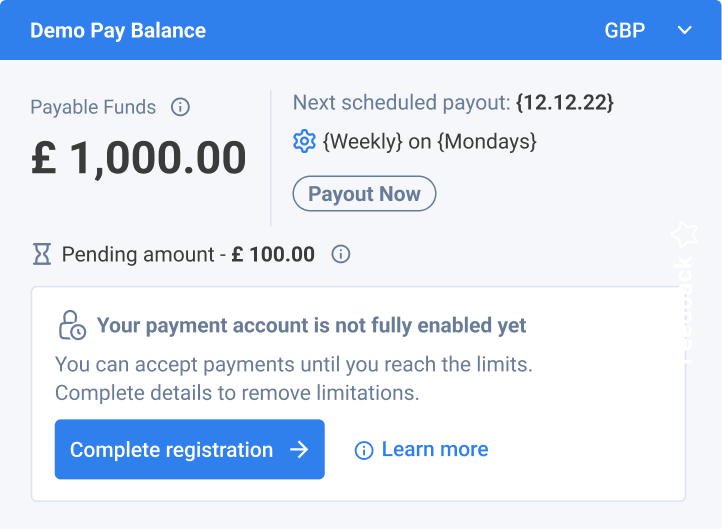
The Balance shows your customer what funds they have in their account, as well as the status of these funds (payable/pending).
Onboarding status
This section shows your users what their onboarding status is. When relevant, it can redirect to the onboarding flow in order to complete it and add required documents, if these are necessary.
Payout
The Payout section shows your customer when their next payout is scheduled, as well as lets them configure payout scheduling.
Component zero state
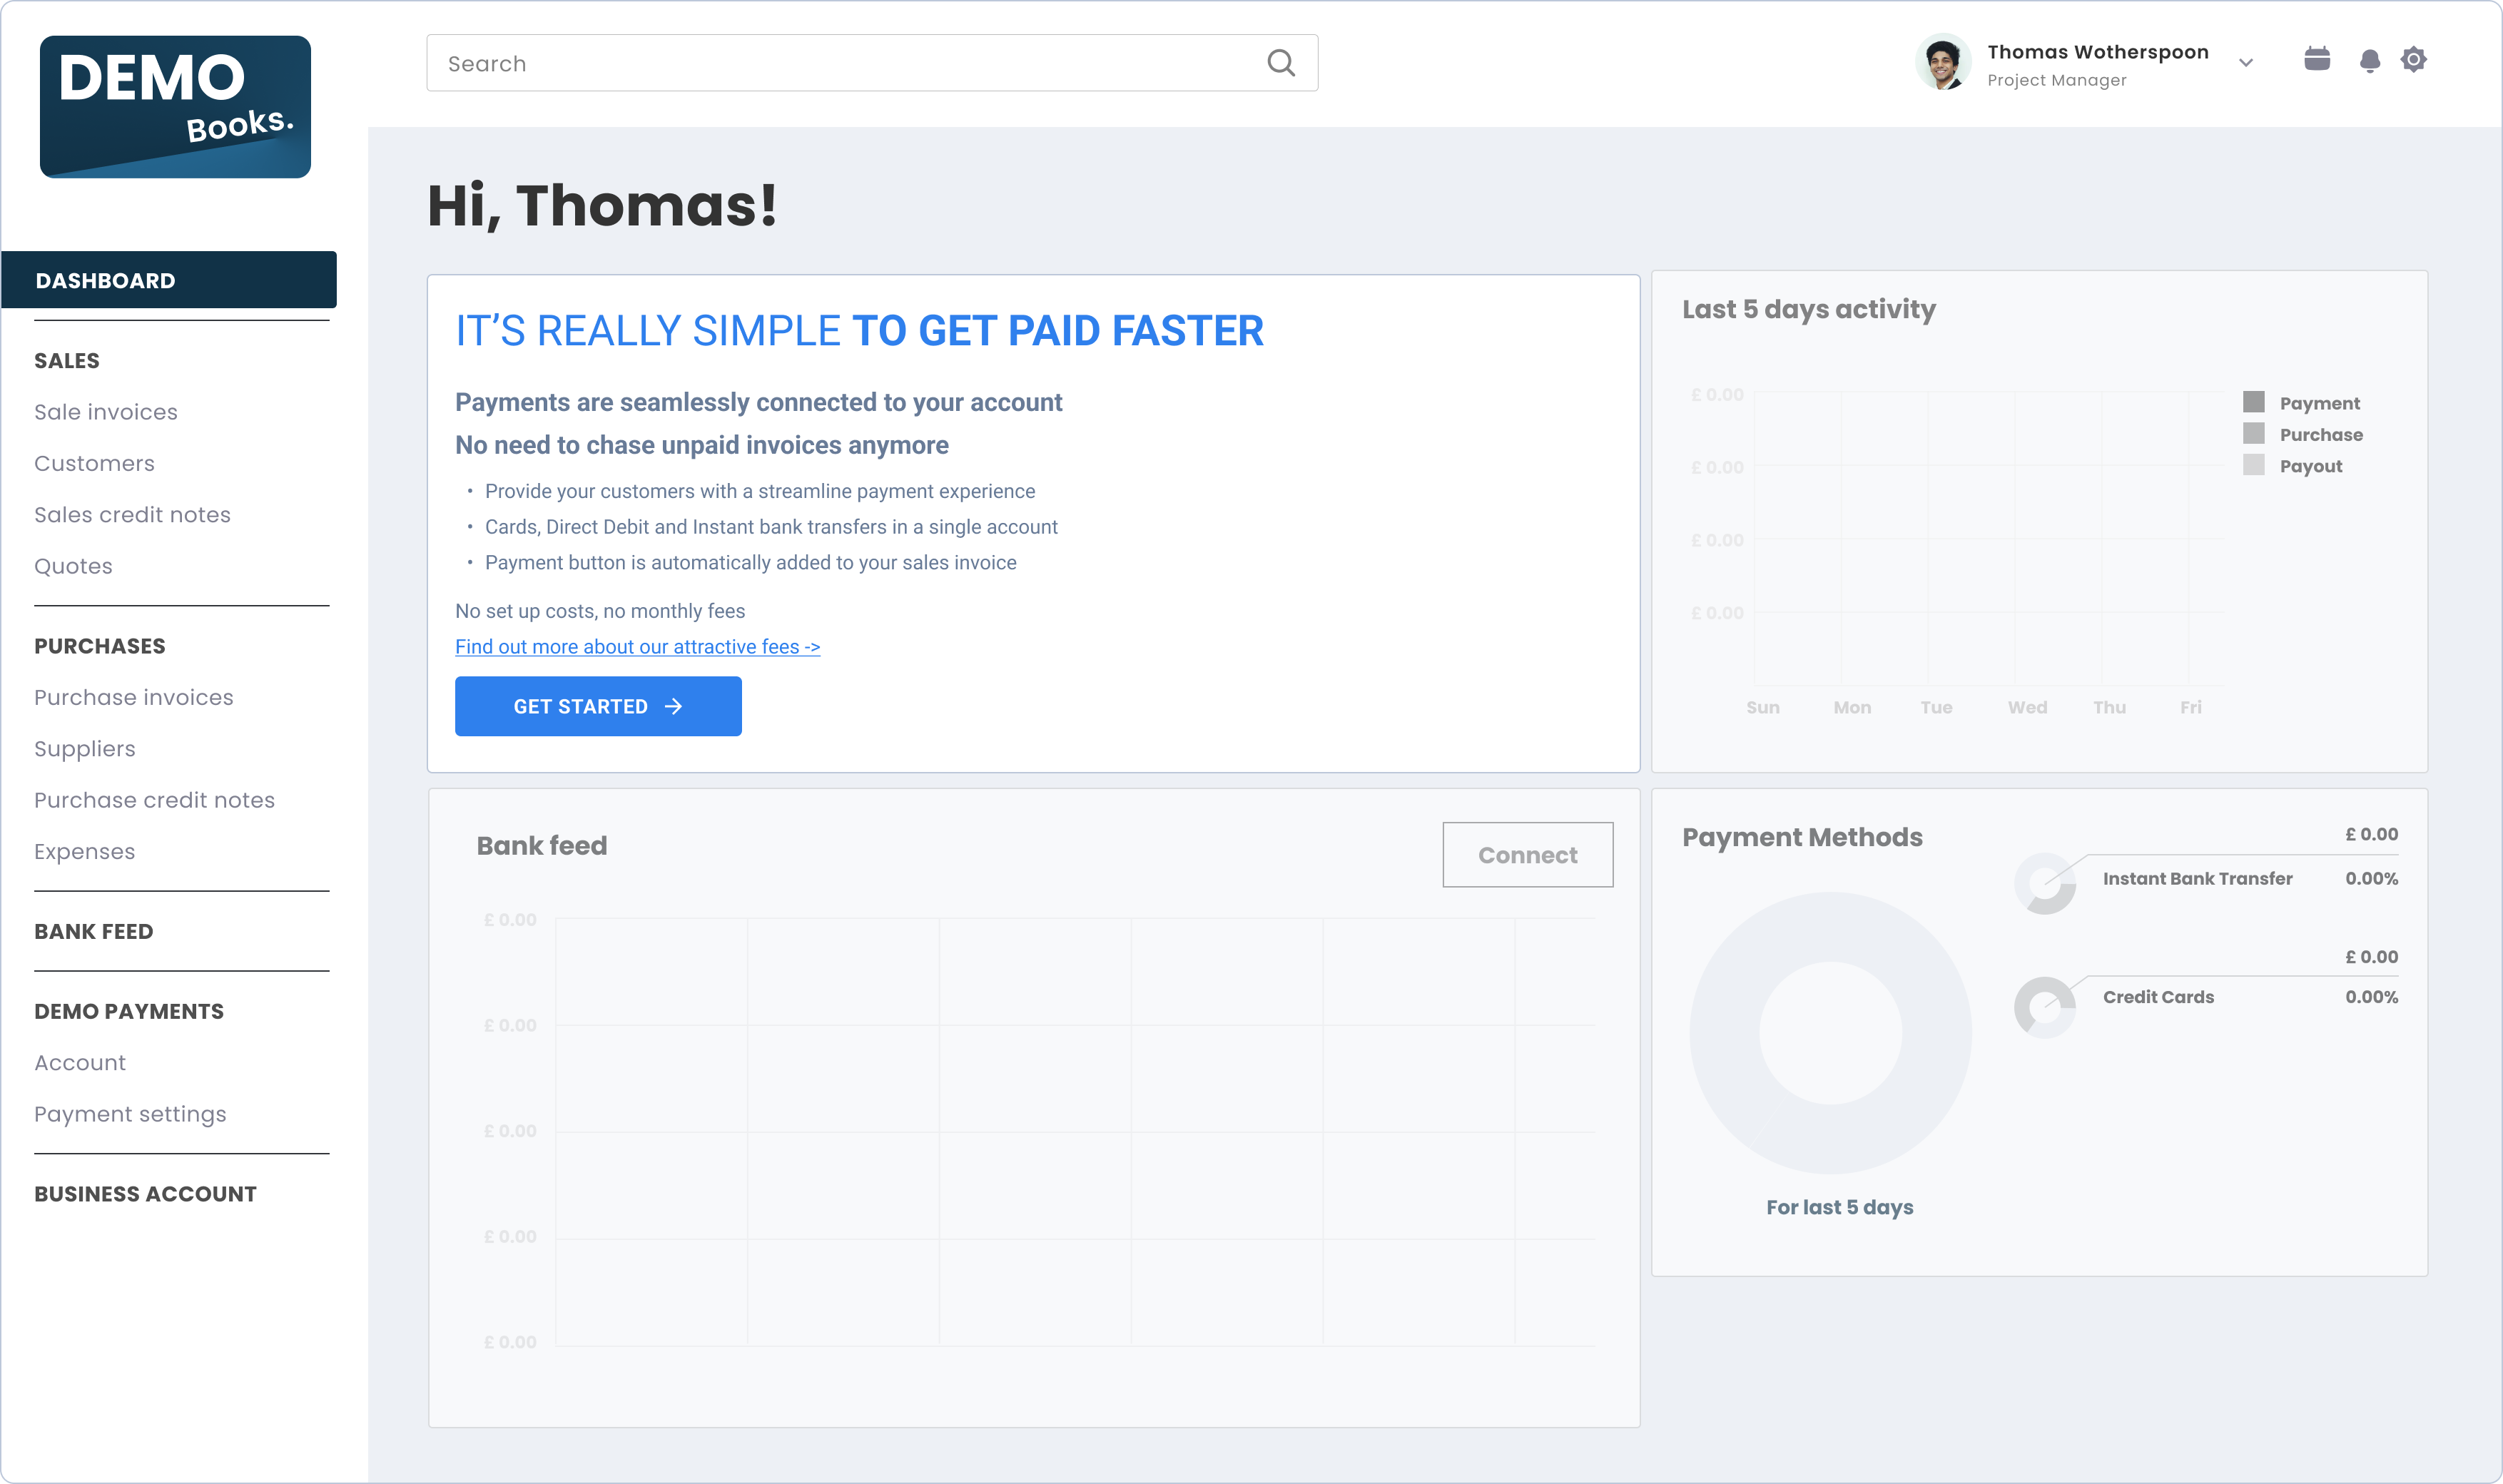
For platform users who have yet to sign up to your payments solution, the Balance component will show in a "zero state" view. This view's goal is to emphasize your payment solution's value and showcase its core features to potential users.
The "zero state" includes a prominent CTA and messages, incentivising your users to sign up to your payments solution. Additionally, it allows users learn more about it.
Triggering the "zero state" view
The "zero state" will automatically trigger once an access token is created without a vendor ID, meaning the user is not registered with UNIPaaS.

ADD
Where should I implement this component in my product?
The Balance component should be implemented as part of your platform's dashboard/overview (if one exists). This is normally the high-level page where the user sees a preview of their status within your platform, and through which they can decide to dive into further details.
Before you begin implementation
-
If you have not set up UNIPaaS Components, please go to the UNIPaaS Components page before moving forward.
-
Required scopes for the access token:
ewallet_readpayout_write
- Allocate the following minimal space for this component:
- Width - 490 pixels (minimum).
- Height - 420 pixels (minimum).
How to implement this component?
To use the Balance component, you will need to create an empty DOM node (also known as a container) in your page and give it a unique ID. This will be the place where the Balance component will be mounted. Make sure to assign a unique ID to the container so that it can be easily identified and accessed.
<div id="balance"></div>To use the Balance component, you will need to create an instance of it and mount it to the container DOM node in your page. This should be done after the previous div has finished loading. To create an instance of the Balance and mount it to the container DOM node, you can use the following code:
<script type="text/javascript">
  const balance = components.create("balance");
  balance.mount("#balance");
</script>
The Balance component will dynamically render itself into the empty DOM element that you have provided. As the customer goes through the onboarding process, the Balance will retrieve the necessary data and update the relevant child components accordingly.
Balance component events:
The Balance component should interact with events that are on the platform side. In order to make the Balance fully functional, please implement the following component events.
startOnboarding- mandatorycompleteOnboarding- mandatorysessionExpired- optionalgeneralError- optional
Use the following Javascript example snippet to listen and take appropriate action upon these events:
components.on("startOnboarding", (e) => {
  console.log("startOnboarding event", e.detail);
});
See the full list of events, which cover all UNIPaaS embedded components
Updated about 2 months ago
Make sure your platform is ready to begin the UNIPaaS Components integration
